
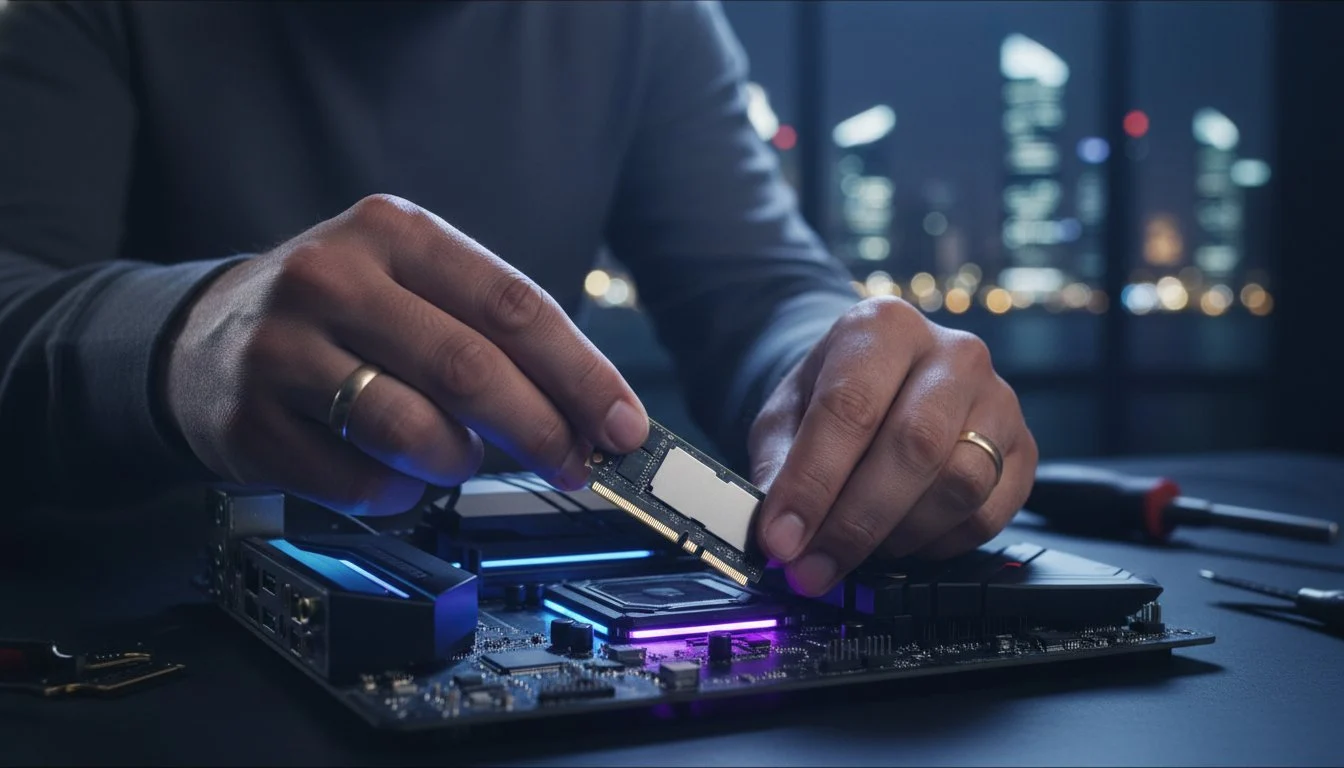

Your PC isn’t just a collection of parts; it’s a high-performance ecosystem where a single millimeter of misalignment can be the difference between elite speed and a total system failure. You’ve likely felt that spike of adrenaline when hovering a premium drive over a delicate M.2 slot. Between the skyrocketing costs of NAND flash in 2026 and the shifting landscape of PCIe 5.0 standards, the stakes for installing m.2 nvme ssd hardware have never been higher. We understand the fear of snapping a connector or watching a professional build succumb to thermal throttling.
We’re here to transform that anxiety into professional-grade precision. You deserve a storage solution that lives up to its advertised speeds, providing the instant boot times and zero-latency transfers required for high-end 3D rendering or competitive gaming. This guide delivers a masterclass on seating your drive perfectly, navigating the latest NVMe 2.3 specifications, and implementing thermal management strategies that keep your hardware cool under the most intense workloads. It’s time to unlock the full character and soul of your machine through expert craftsmanship.
Key Takeaways
- Understand how the NVMe 2.3 protocol serves as the high-speed nervous system for elite gaming PCs and professional workstations.
- Master the precise 30-degree insertion technique for installing m.2 nvme ssd hardware without risking damage to delicate motherboard connectors.
- Prevent thermal throttling by implementing advanced cooling solutions designed to handle the extreme heat output of modern PCIe 5.0 storage.
- Streamline your build process with a specialist’s toolkit and workspace preparation techniques that ensure surgical precision during assembly.
- Complete the transformation by mastering BIOS verification and Windows Disk Management rituals to unlock immediate, zero-latency performance.
The Pre-Installation Brief: Understanding M.2 NVMe Architecture
Before you pick up a screwdriver, you must understand the architecture of your machine’s nervous system. The M.2 standard defines the physical footprint of the drive; a slim, gum-stick shaped component that eliminates the clutter of cables. However, the real magic lies in the NVMe (Non-Volatile Memory Express) protocol. This isn’t just a storage upgrade. It’s the essential backbone of any ultimate gaming PC build. By 2026, the performance landscape has shifted. PCIe 5.0 is no longer a luxury; it’s the baseline for professionals who refuse to wait on progress bars.
When installing m.2 nvme ssd modules, you’ll encounter different “keys” or notches in the connector. Most high-performance NVMe drives use the M-Key, which allows for four lanes of PCIe bandwidth. You might still see B+M Key drives, but these are often limited to SATA speeds or older PCIe x2 lanes. Precision matters here. Forcing an incompatible key into a slot is a recipe for hardware heartbreak. You want a perfectly seated drive that communicates at the speed of thought.
NVMe vs. SATA: Why Protocol Matters for Pro Workflows
Legacy SATA drives are anchored by a protocol designed for spinning hard disks. They cap out around 600MB/s, creating a massive bottleneck for modern NAND flash memory. In contrast, NVMe speaks directly to the CPU via the PCIe bus. This leap is vital for 4K/8K video editing and complex 3D rendering where latency can kill productivity. At Grey PC, we exclusively recommend NVMe for high-performance workstations. We believe every millisecond of saved load time is a victory for the creator. Transitioning from SATA to NVMe feels like moving from a congested city street to an open superhighway.
PCIe Gen 4 vs. Gen 5: Matching Your SSD to Your Motherboard
Compatibility is the cornerstone of a stable build. While a PCIe 5.0 SSD is backward compatible, putting it in a Gen 4 slot will throttle its speed to Gen 4 limits. You’ll lose the 14,000MB/s+ potential you paid for. Always identify the primary M.2 slot on your motherboard. This slot usually sits closest to the CPU socket and offers a direct, low-latency path to the processor. Secondary slots often run through the motherboard chipset, which can introduce slight overhead. Installing m.2 nvme ssd hardware in the right lane ensures your system breathes at its full capacity. Check your manual; the difference in throughput between slots can be staggering.
Tools and Preparation: Setting the Stage for Precision Assembly
Precision is non-negotiable. When you’re installing m.2 nvme ssd units, your workspace is just as important as the drive itself. A clean, well-lit environment ensures that installing m.2 nvme ssd components remains a surgical procedure rather than a chaotic scramble. You’re handling hardware with microscopic traces; even a small amount of static or a dropped screw can compromise an elite build. Professional craftsmanship begins with a non-conductive surface, like a wooden desk or a dedicated anti-static mat, and enough overhead light to see every pin on the M.2 slot.
Grounding yourself is the golden rule of PC assembly. Electrostatic discharge (ESD) is a silent killer that can fry a high-end motherboard before you even hit the power button. Touch a grounded metal object, such as your case’s PSU shroud, before reaching for the motherboard. If you’re working on a carpeted floor or in a dry environment, an anti-static wrist strap is a smart investment for absolute safety. Before the physical work starts, verify your data integrity. Always back up your critical files to an external drive or cloud service. While the physical installation is straightforward, you’ll eventually need to initialize an NVMe drive once the assembly is complete to make the storage visible to your operating system.
Essential Gear for Hardware Specialists
The wrong screwdriver turns a five-minute task into a nightmare. A #0 Phillips head screwdriver is the non-negotiable standard for the tiny screws that secure M.2 drives. Don’t use a larger bit; you’ll strip the head and lock the drive in place permanently. A magnetic parts tray is equally vital for keeping track of those minuscule mounting screws. For those pursuing the ultimate gaming PC build, having a specialized toolkit reflects the pride you take in your machine’s soul.
Preparing Your System for Surgery
Safety starts at the wall. Shut down your system, flip the power supply switch to the “off” position, and unplug the cable entirely. Hold the case power button for five seconds to discharge any residual electricity stored in the capacitors. If you’re working in a Lian Li or other high-airflow chassis, carefully remove the tempered glass panels and set them on a soft surface away from the work area. Clearing the path to the motherboard prevents accidental bumps and gives you the leverage needed to seat the drive with professional precision.

Step-by-Step Guide: Physical Installation of Your M.2 NVMe Drive
Execution is where the enthusiast separates themselves from the amateur. Locating the M.2 slots on your motherboard is your first objective. While most modern boards place the primary slot under a decorative shroud near the CPU, always consult your manual to confirm which slot offers the highest PCIe bandwidth. Installing m.2 nvme ssd hardware requires a delicate touch; you aren’t just plugging in a component, you’re completing a high-speed circuit that demands absolute alignment. If you’re working on the ultimate gaming PC build, the aesthetics of this installation matter as much as the performance.
Removing Motherboard Heatsinks and Armor
Premium motherboards often feature integrated cooling plates known as M.2 Shields. These aren’t just for show. They’re critical for heat dissipation. Carefully unscrew these plates and set them aside. Look closely at the underside of the heatsink. You’ll find a pre-applied thermal pad covered by a thin plastic film. Peeling this film is a critical step often missed in amateur builds. If you leave it on, your drive will bake. Keep the thermal pads clean and aligned; any dust or hair trapped here will compromise the thermal transfer between your controller and the heatsink.
The Seating and Securing Process
Now comes the transformative moment. Hold your drive by the edges to avoid touching the NAND chips. Insert the drive into the slot at a 30-degree angle. You should feel a slight resistance followed by a satisfying ‘click’ as it seats into the connector. Once it’s in, the drive will naturally stick up at an angle. Gently press the drive flat against the standoff. Installing m.2 nvme ssd units requires a light hand. Secure it with the tiny M.2 screw or the tool-less latch system if your board has one. A major torque warning: never overtighten. You only need enough tension to hold the drive steady. Overtightening can warp the PCB or damage the delicate motherboard traces.
Before replacing the armor, double-check the ‘seat’. Look at the connector side. No gold contacts should be visible after insertion. If you see gold, the drive isn’t fully home. Pull it out and try again. A perfectly seated drive ensures that your system recognizes the hardware on the first boot, paving the way for the god-tier speeds you expect from a professional-grade build. This level of precision is what defines the internal character of a truly elite machine.
Thermal Management: Taming High-Speed Storage Heat
Raw power generates raw heat. When installing m.2 nvme ssd components from the 2026 generation, you’re dealing with PCIe 5.0 controllers that can exceed 80 degrees Celsius under heavy load. Without a robust cooling strategy, your high-speed investment will throttle its performance to protect its internal circuits. An elite heatsink isn’t just a piece of aluminum; it’s a precision-engineered component with high thermal mass and optimized fins to maximize surface area. While many motherboards include integrated shields, the most extreme Gen 5 drives often benefit from active cooling or high-performance third-party solutions that stand taller and breathe better.
Your chassis choice plays a pivotal role in this thermal equation. Even the best heatsink fails if it’s trapped in a stagnant pocket of air. Selecting a PC case for airflow ensures a constant stream of cool air passes over your storage slots. This synergy between component and case is what separates a standard retail build from a professional-grade machine designed for longevity. If you’re building for sustained performance, don’t overlook the environmental factors that keep your silicon healthy.
Thermal Pad Application and Optimization
Contact is everything. Selecting the right thickness for thermal pads, typically ranging from 0.5mm to 1.5mm, determines how efficiently heat moves from the drive to the heatsink. A pad that’s too thin leaves a gap; one that’s too thick can bend the drive’s PCB. You need 100% contact across the controller and NAND chips. Interestingly, there’s a persistent myth about cooling. While NAND flash actually performs better when slightly warm, the controller is the heart of the drive and requires the most aggressive cooling. A perfectly applied pad ensures this balance is maintained with surgical precision.
Combating Throttling in High-Performance Builds
Throttling is the enemy of productivity. You’ll recognize the signs during heavy 8K renders or large file transfers when your speeds suddenly plummet. This is why Grey PC advocates for dedicated SSD cooling in professional workstations. We don’t just build machines; we engineer them to withstand the most demanding workflows without flinching. Use software tools like HWInfo64 to monitor your drive’s thermal health in real-time. If you see temps consistently hitting the 70s, it’s time to re-evaluate your cooling setup. Installing m.2 nvme ssd hardware correctly means planning for the heat it creates, not just the speed it promises.
Ready to push your system to its limits? Browse our selection of high-performance storage SSDs to find the perfect drive for your next professional build.
Post-Installation Rituals: Initializing and Optimizing for God-Tier Speed
The physical transformation is complete. Your drive is seated, cooled, and secured. Now comes the digital handshake that turns raw silicon into a high-speed storage powerhouse. Many builders stumble here, assuming the drive will simply appear in Windows. It won’t. Completing the process of installing m.2 nvme ssd hardware requires a series of surgical software configurations to ensure you aren’t leaving performance on the table. This is the moment you bridge the gap between a mechanical task and a professional-grade optimization.
BIOS Configuration for Maximum Bandwidth
Tap your Del or F2 key during the first boot to enter the UEFI/BIOS. Your first priority is verification. Navigate to the NVMe configuration page to ensure the motherboard recognizes the drive’s specific model and capacity. Check your PCIe link speed settings. If you’ve invested in a Gen 5 drive, verify it’s running at x4 Gen 5 speeds rather than being throttled to Gen 3 or Gen 4. While AHCI is the standard for most single-drive setups, NVMe RAID mode is only necessary if you’re striping multiple drives for extreme throughput. Finally, if this is your new boot drive, set it as the primary target in the boot priority list. This ensures the system looks to your fastest storage the moment you hit the power button.
Drive Initialization and OS Migration
Once in Windows, your new drive will likely be invisible in File Explorer. Right-click the Start button and open Disk Management. A prompt will immediately ask you to initialize the disk. Choose GPT (GUID Partition Table). MBR is a relic of the past that limits partition sizes and lacks compatibility with modern UEFI features. When formatting, NTFS remains the standard for gaming, but ReFS is an elite choice for professional workstations handling massive datasets or 3D rendering projects. Assign a drive letter and you’re ready for data.
The final ritual involves firmware and benchmarks. Manufacturers often release controller updates that improve stability and speed; download the specific management software for your drive to stay current. While cloning an existing drive is convenient, we always recommend a fresh Windows installation to ensure the OS aligns perfectly with the NVMe’s internal architecture. Run a quick CrystalDiskMark test to verify you’re hitting those advertised god-tier speeds. If the numbers match the box, your mission is a success. You’ve successfully completed installing m.2 nvme ssd storage with the precision of a master builder.
Dominate the Next Era of High-Speed Storage
Mastering the art of installing m.2 nvme ssd hardware is the final step in claiming ownership over your machine’s potential. You’ve moved beyond simple assembly into the realm of professional craftsmanship. By balancing surgical physical installation with aggressive thermal management and precise digital initialization, you ensure your workstation or gaming rig operates at its absolute peak. Whether you’re navigating the extreme heat demands of PCIe 5.0 or configuring UEFI for maximum bandwidth, your commitment to quality defines the internal character of your build.
We specialize in high-performance workstations and gaming rigs that demand this level of precision. Our inventory features only premium components from industry leaders like Samsung, Western Digital, and Crucial. If you need a partner who understands the soul of elite hardware, we provide expert technical support for every stage of your journey. Upgrade your storage with Grey PC’s premium hardware selection and experience the transformative power of zero-latency performance. Your vision deserves nothing less than perfection.
Frequently Asked Questions
Why isn’t my M.2 SSD showing up in Windows after installation?
Your drive likely requires manual initialization through the Windows Disk Management utility. New drives arrive as unallocated space and won’t appear in File Explorer until you assign a partition style and a drive letter. Right click the Start button and select Disk Management to find your missing drive. If it still doesn’t appear, enter your BIOS to verify the hardware is recognized at the motherboard level.
Do I really need a heatsink for my M.2 NVMe SSD?
Yes, a heatsink is non-negotiable for modern high-performance builds in 2026. Modern PCIe 5.0 drives generate extreme heat that leads to immediate thermal throttling and reduced component longevity. While installing m.2 nvme ssd units without cooling was possible for older Gen 3 drives, Gen 4 and Gen 5 controllers require robust passive or active cooling to maintain those advertised god-tier speeds during professional workloads.
Can I install an NVMe SSD while the computer is on?
No, you must never attempt this while the system has power. Installing m.2 nvme ssd hardware requires a complete shutdown and disconnection from the wall. Working on a live system risks catastrophic short circuits to the motherboard and the drive itself. Always hold the case power button for five seconds after unplugging to discharge residual energy before touching any internal components or delicate silicon.
What is the difference between an M.2 SATA and an M.2 NVMe SSD?
The primary difference is the communication protocol and the resulting maximum throughput. M.2 SATA drives use the legacy AHCI protocol and are capped at roughly 600MB/s. M.2 NVMe drives utilize the PCIe bus to reach speeds exceeding 14,000MB/s in 2026. While they share the same physical M.2 form factor, the performance gap is the difference between a congested city street and a limitless superhighway.
How do I know if my motherboard supports PCIe 5.0 SSDs?
Consult your motherboard technical specifications for PCIe 5.0 x4 support on the M.2 slots. You’ll typically find this support on elite chipsets like the AMD X670E or Intel Z790 and their successors. Look for the primary slot closest to the CPU socket. This slot usually provides the direct Gen 5 lanes required for maximum storage performance without chipset overhead or bandwidth sharing.
Is it safe to use a magnetic screwdriver near an SSD?
It is perfectly safe and highly recommended to use a magnetic screwdriver. Unlike legacy hard drives with spinning magnetic platters, SSDs store data using NAND flash memory which is immune to the low-level magnetic fields of a hand tool. Using a magnetic tip is actually a sign of a seasoned builder. It prevents tiny screws from falling into the dark, inaccessible recesses of your chassis.
What should I do if my M.2 screw is missing?
You should purchase a dedicated M.2 mounting kit or check your motherboard box for spare hardware. These are standardized M2x3mm screws, but they’re notoriously easy to lose. Never use tape or glue to secure a drive. Heat will cause these temporary fixes to fail, potentially causing the drive to fall and short out your motherboard. Most specialist retailers stock these tiny screws for quick replacement.
Does installing an M.2 SSD disable any SATA ports on my motherboard?
It depends on your motherboard chipset and how it manages available PCIe lanes. Many boards share bandwidth between the M.2 slots and specific SATA ports. When you occupy a shared M.2 slot, the corresponding SATA ports are often disabled to prioritize the higher-speed NVMe connection. Always check your motherboard manual’s storage compatibility table to see which SATA ports remain active after your high-speed upgrade.